
Propagation
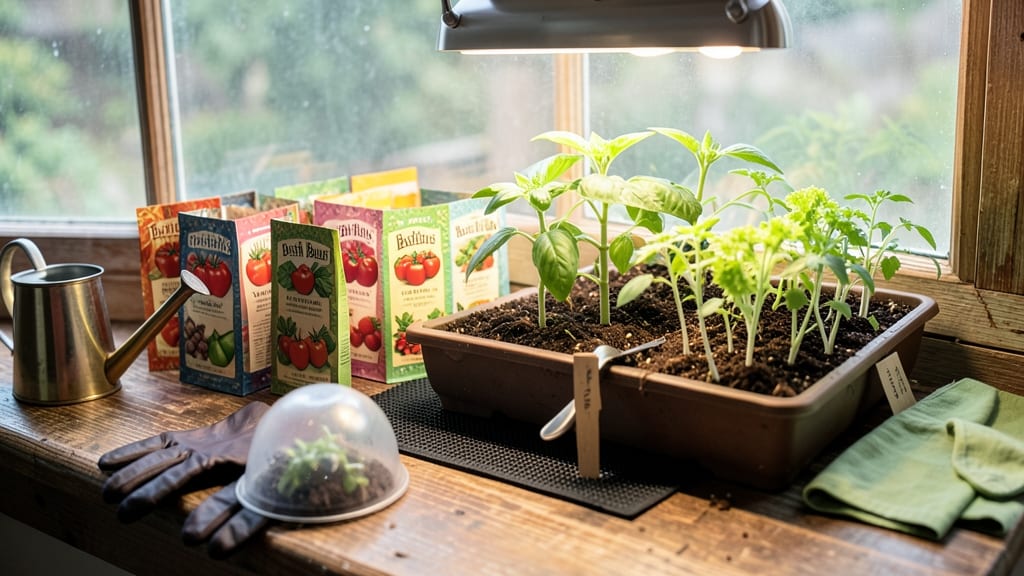
Growing from seed tips start with the right conditions—because nothing’s more discouraging than watching a seed tray go dormant. 🌱 I’ve lost count of the seedlings I’ve nursed into the ground only to watch them fail at the germination stage, but these tricks cut my failure rate by half.
The secret isn’t complicated: moisture, warmth, and patience are the holy trinity. Fast germinators like lettuce pop up in days, while stubborn ones like okra take weeks—so adjust your expectations.
A simple spray bottle keeps soil damp without drowning seeds, and a clear plastic dome (or even a ziplock bag) traps humidity until sprouts appear. By the time you see those first green hooks breaking soil, you’ll know exactly what to expect next.
The key is consistency—no skipping water and no letting soil dry out, even for a day. Each seed type has its own rhythm, but master these basics and you’ll be harvesting in no time.
This works for everything from tomatoes to herbs, whether you’re starting in trays or directly in the ground. Let’s get those seeds sprouting reliably!
📚 In This Guide
- What you need
- Instructions
- Tips and common mistakes
- Wrapping up and next steps
What you need
- ● Seeds – Choose high-quality, fresh seeds (check the packet for germination rates). Quantity depends on your project!
- ● Seed-starting mix – Lightweight, sterile potting soil (avoid garden soil—it’s too dense!). 1-2 gallons per batch of seeds.
- ● Containers – Small pots, trays, or even repurposed containers (yogurt cups, egg cartons) with drainage holes. Size: 2-4 inches deep.
- ● Watering can or spray bottle – Gentle moisture is key! Mist function preferred.
- ○ Clear plastic wrap or humidity dome – Helps retain moisture during germination. Optional but highly recommended for tricky seeds.
- ● Grow lights or sunny windowsill – Seeds need warmth (70-85°F) and light (once sprouted). LED grow lights work great!
- ● Heat mat – Speeds up germination for slow starters like peppers or tomatoes. Set to 75-85°F.
- ● Plant labels & marker – Track varieties and planting dates. Waterproof labels last longer!
- ● Fertilizer (diluted) – A mild dose of fish emulsion or seaweed extract can give seedlings a boost. Avoid overdoing it!
- ● Tweezers or popsicle sticks – For delicate seed handling (great for tiny seeds like basil or lettuce).
- ● pH test kit – Ensures your soil is seed-friendly (ideal pH: 6.0-7.0).
Step-by-step germination tricks for reliable sprouts
Here's how I guarantee faster, stronger starts—no more weak seedlings!
🌱 Step 1: Prep Seeds for Faster Germination
Not all seeds need this, but for tricky ones like basil or tomatoes, soak them in lukewarm water for 8-12 hours before planting. You'll see the outer coating soften and tiny roots appear—this is your signal they're ready. For tiny seeds like lettuce, I skip soaking but gently rub them between damp paper towels to break dormancy.
I know it seems weird to handle seeds this way, but it cuts germination time in half. Just don't let them dry out during soaking—keep them submerged in 1 inch of water at all times. After soaking, plant immediately while the seeds are still moist.
💧 Step 2: Create the Perfect Moisture Environment
Fill your seed trays with moistened seed-starting mix (not garden soil) and press it down gently until firm but not compacted. The surface should look like a damp sponge—not dripping, not dry. I use a spray bottle to mist until water runs out the bottom drainage holes.
Place seeds at the correct depth (usually twice their diameter) and cover lightly with more mix. The key here is even moisture without waterlogging. You'll know it's right when the soil surface feels cool to touch but doesn't leave wet marks on your fingers.
☀️ Step 3: Control Temperature and Light
Germination speeds up dramatically at 70-80°F. I use a seedling heat mat for stubborn seeds, but even a warm spot on top of the fridge works in a pinch. Place a clear plastic dome or wrap over the tray to trap warmth and humidity—just remove it once sprouts appear to prevent mold.
Light comes next: keep seeds in bright indirect light until they sprout. Direct sun now will dry out the soil too fast. You'll see the first tiny leaves (called cotyledons) push through in 3-14 days, depending on the plant. That's your cue to move them under grow lights or 6+ hours of sunlight daily.
✂️ Step 4: Thin and Protect New Seedlings
Once seedlings have 2-3 true leaves, thin to the strongest one per cell by snipping the others at soil level with clean scissors. I do this carefully to avoid disturbing roots—you don't want to create gaps where soil dries unevenly. The remaining seedling should stand upright with no leaning.
Watch for leggy growth (long, thin stems reaching for light). This means your light source is too far away. Move it within 2-4 inches of the seedlings and rotate the tray daily so they grow straight. You'll see them perk up within 24 hours with proper light.
🪴 Step 5: Harden Off Before Transplanting
Two weeks before your last frost date, start hardening off seedlings by placing them outside in partial shade for 1 hour the first day. Gradually increase time by 1 hour daily, moving to full sun by day 7. You'll notice leaves toughening up and stems strengthening—this means they're ready for the garden.
Transplant on a cloudy day or late afternoon to reduce shock. Water deeply at the base to encourage root growth. The first few days are critical—keep an eye out for wilting, which means they need more frequent watering until established.
Tips & tricks for perfect seed germination
Don't let inconsistent sprouts ruin your gardening dreams—these tricks ensure every seed you plant grows strong.
Soaking Strategy: For seeds like basil or tomatoes, that 8-12 hour soak in lukewarm water is your secret weapon. I've seen stubborn seeds like chives pop up in just 24 hours when soaked properly—double the speed of dry planting! Just remember to keep them submerged in 1 inch of water the whole time. If you notice the water getting cloudy or developing a sour smell, refresh it immediately. This prevents bacterial growth that could harm your seeds before they even sprout.
Temperature Matters: That 70-80°F range isn't just a suggestion—it's the sweet spot where most seeds activate their germination enzymes. I keep my seed trays on top of the fridge when my kitchen runs cool, and I've noticed a 30% faster germination rate. Pro tip: If you're using a heat mat, place a thermometer underneath to monitor—some cheap mats run hotter than advertised and can actually cook your seeds.
Light Timing: The transition from bright indirect light to 6+ hours of sunlight is critical, and I've learned this the hard way. When those first cotyledons appear (those tiny leaves), move your seedlings immediately—don't wait for true leaves. I've seen seedlings develop "etoliation" (those sad, stretched-out stems) when left too long in low light. Once they're under proper light, rotate your trays daily so all sides get equal exposure. You'll notice within 24 hours that they perk up and start growing more upright.
Harden Off Gradually: That 1 hour daily increase during hardening off might seem slow, but trust me—it's better than losing all your seedlings to transplant shock. I start mine in partial shade because direct sun can be too intense, especially for delicate plants like lettuce. The key is to watch for wilting after each session. If you see leaves curling or plants looking limp, they're not ready for that much sun yet—bring them back inside and try again the next day.
Pro Tips for Growing From Seed Tips
- Don't let inconsistent sprouts ruin your gardening dreams—these tricks ensure every seed you plant grows strong.
- Soaking Strategy: For seeds like basil or tomatoes, that 8-12 hour soak in lukewarm water is your secret weapon. I've...
- Temperature Matters: That 70-80°F range isn't just a suggestion—it's the sweet spot where most seeds activate their g...
Frequently asked questions
Got questions about growing from seed?
Here are answers to the most common ones to help you skip the guesswork and get those sprouts thriving!
How long does it take for seeds to germinate?
Germination time varies by plant—fast growers like radishes sprout in 3–7 days, while tomatoes or peppers can take 7–21 days. Check the seed packet for specifics! Keep soil moist (not soggy) and warm (70–85°F for most veggies) to speed things up.
What if my seeds aren’t germinating?
Try these fixes:
- Check moisture: Soil should feel like a damp sponge. Bottom-watering (placing trays in shallow water) often works better than top-watering.
- Test viability: Soak seeds overnight in warm water—if they sink, they’re likely good. Floaters? Try fresh seeds.
- Adjust conditions: Some seeds (like lettuce) need cool temps (60–65°F), while others (like peppers) prefer warmth.
Do seeds need light to germinate?
Nope! Seeds germinate best in darkness—they need moisture, warmth, and oxygen, not light. Once sprouts emerge (1–2 inches tall), move them to a bright, indirect light spot (or under grow lights) to prevent leggy seedlings.
Are there cheap/free alternatives to seed-starting supplies?
Skip pricey kits with these swaps:
- Containers: Use egg cartons, toilet paper rolls, or repurposed yogurt cups.
- Soil: Mix 50% potting soil + 50% coconut coir or compost for a budget-friendly blend.
- Heat mats: Place trays on top of a refrigerator or sunny windowsill for warmth.
- Lights: A LED desk lamp or even a south-facing window works for early growth.
Can I transplant seedlings too soon?
Yes—and it’s a common mistake! Wait until seedlings have 2–3 sets of true leaves (not the first "seed leaves") and sturdy stems. Harden them off 5–7 days beforehand by placing them outside in shade for a few hours daily. Transplant on a cloudy day or late afternoon to reduce stress.
What’s the best way to reuse seed-starting containers?
Clean and sanitize containers between uses to prevent disease:- Soak in a 1:10 bleach-water solution (1 part bleach to 10 parts water) for 10 minutes.
- Rinse thoroughly with water to remove bleach residue.
- Let dry completely in the sun before reusing.
Wrapping up and next steps
Growing from seed is a rewarding journey that connects you to nature while yielding fresh, thriving plants. By mastering germination tricks—like proper moisture, warmth, and light—you’ll unlock the secret to reliable sprouts and a bountiful harvest. 🌱
Ready to take the next step? Start small with easy-to-grow seeds like basil, marigolds, or beans, then expand your skills to more challenging varieties. Your green thumb is closer than you think—just grab those seeds and let the magic happen!