
Lawn
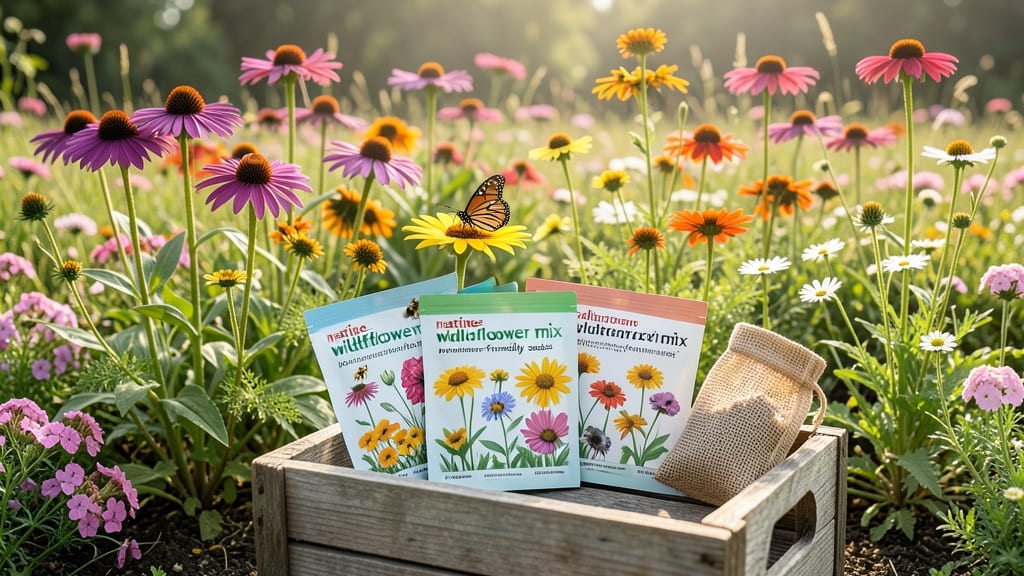
A wild seed project turns your yard into a buzzing, blooming ecosystem that even the bees will thank you for. 🌻 I started mine after watching my neighbor’s lawn become a pollinator desert—until we planted wildflowers. Now, monarchs and hummingbirds treat our yard like a five-star resort.
The beauty of this project is that it’s zero-maintenance once established. You’ll need a sunny patch (even a small one), a bag of native wildflower seeds, and a watering can. Skip the lawnmower and watch biodiversity return in just a few weeks.
By late summer, you’ll have vibrant clusters of blooms that attract butterflies, bees, and beneficial insects. The air hums with life, and your garden becomes a haven instead of a monoculture. No fancy tools, no expensive plants—just seeds and sunlight.
Works in urban backyards, rural fields, or even container gardens. Here’s how to get started without overcomplicating it.
📚 In This Guide
- What you need
- Instructions
- Tips and common mistakes
- Wrapping up and next steps
What you need
- ● Wildflower Seed Mix: 1–5 lbs (depending on area size; check seed packet for coverage rates). Opt for native, pollinator-friendly blends like Echinacea, Asclepias (milkweed), or Rudbeckia.
- ● Pro Tip: 🌡️ Choose seeds pre-treated for your USDA hardiness zone for best germination!
- ● Soil Preparation: Garden rake or hoe (for loosening soil)
- ● Compost or organic matter (2–3 inches mixed into topsoil)
- ○ Optional: Soil test kit (to check pH; most wildflowers thrive in slightly acidic to neutral soil, pH 6.0–7.0).
- ● Watering Supplies: Hose with adjustable nozzle or watering can (gentle spray setting)
- ○ Drip irrigation kit (optional but ideal for consistent moisture 💧).
- ● Protective Gear: Gloves (gardening or work gloves)
- ● Knee pads (for comfort during planting)
- ● Seedling trays (for pre-sprouting seeds indoors)
- ● Mulch (straw or shredded leaves to retain moisture)
- ● Birdseed mix (to attract pollinators early in the season)
- ● Wildlife camera (for tracking your new ecosystem’s visitors! 🐝🦋)
Instructions: collecting and preparing wild seeds for a pollinator-friendly habitat
Let’s turn your backyard into a buzzing haven—starting with the seeds you can gather right outside your door.
🌱 Step 1: Identify and Harvest Mature Wildflower Seeds
Wait until the plant’s seed heads have fully matured but haven’t yet scattered—look for dry, brownish pods or fluffy seed clusters. I like to harvest on a dry, sunny morning when humidity is low, as this prevents mold from forming. Use clean, sharp scissors to snip entire seed heads (not just individual seeds) to preserve their natural dispersal mechanisms.
Gently shake the seed heads over a clean sheet of paper or a shallow tray. If seeds are enclosed in pods, place the pods in a paper bag and let them dry indoors for a few days before opening. Avoid collecting seeds from plants treated with pesticides or growing near polluted areas—these can harm the very creatures you’re trying to support.
💧 Step 2: Clean and Store Seeds Properly
Spread the collected seeds on a dry, flat surface and let them air-dry for 24-48 hours in a well-ventilated area. This step is critical—moisture can cause seeds to spoil or develop mold. Once dry, separate any debris by gently winnowing them with a fan or by placing them in a shallow container and shaking it over a sieve.
Store cleaned seeds in paper envelopes or small glass jars with airtight lids. Label each container with the plant name (if known) and the collection date. Keep them in a cool, dry place—a basement or pantry works best—where they’ll remain viable for 1-3 years, depending on the species. Some native seeds, like milkweed, can even last longer if stored properly.
☀️ Step 3: Prepare Seed Mixes for Planting
Combine seeds from different native plants to create a diverse mix. Aim for a ratio of 30-50% pollinator favorites like milkweed, coneflower, and goldenrod, along with 20-30% grasses for structure and 10-20% wildflowers with varied bloom times. I like to add a few late-season bloomers (like asters) to ensure food is available as summer winds down.
Lightly mix the seeds with sand or fine gravel (about 1 part seed to 3 parts sand) to improve even distribution when sowing. This prevents clumping and ensures each seed gets enough space to germinate. If planting in late fall or winter, skip this step—cold stratification (natural freezing) can actually improve germination rates for many native species.
🌿 Step 4: Sow Seeds in Your Pollinator Garden
Choose a sunny spot with well-draining soil—most native wildflowers thrive in full sun (6+ hours daily) and moderate to dry conditions. Scatter the seed mix evenly over the prepared soil, then lightly rake it in to ensure good seed-to-soil contact. Avoid burying seeds too deeply; most native wildflowers need just enough coverage to keep them from blowing away—a light press with your hand usually suffices.
Water gently but thoroughly after planting to settle the seeds into the soil. Keep the area moist but not soggy for the first 4-6 weeks, as consistent moisture is key for germination. Once seedlings appear, reduce watering to encourage strong root development. Mulch lightly with straw or leaves to retain moisture and suppress weeds—just be sure to leave space for emerging plants.
⏰ Step 5: Maintain and Monitor Your Wild Seed Project
Let the garden grow wild—native plants are tough and don’t need much intervention. However, keep an eye out for invasive species that might sneak in and crowd out your pollinator favorites. If needed, pull weeds by hand in early spring before they set seed. Avoid herbicides entirely—they’ll harm the very pollinators you’re trying to attract.
Observe which plants thrive and which struggle in your microclimate. Over time, you’ll learn which native species are best suited to your area. By late summer or early fall, you should see a flurry of activity as bees, butterflies, and hummingbirds visit your garden. The more diverse your seed mix, the more resilient your pollinator paradise will be.
Tips & tricks for perfect wild seed collection
These simple strategies will help you maximize your wild seed harvest and create a thriving pollinator habitat with minimal effort.
Harvest Timing: The 24-48 hour drying period in Step 2 is non-negotiable for seed viability. If humidity is high, extend drying to 72 hours—place seeds near a fan or in a warm, dry spot like a sunny windowsill. I've had seeds spoil when rushed, so patience here pays off in a lush garden later.
Seed Identification: For beginners, focus on collecting seeds from plants with obvious pollinator activity—look for bees, butterflies, or hummingbirds visiting regularly. Milkweed pods (for monarchs) and coneflowers are easy to spot and incredibly valuable. When in doubt, collect from plants with dry, brown seed heads rather than green ones.
Storage Wisdom: The cool, dry basement or pantry recommendation works perfectly, but avoid refrigeration—temperature fluctuations can cause condensation and mold. I've found that glass jars with silica gel packets (optional) extend seed viability beyond the 1-3 year mark, especially for rare native species.
Planting Strategy: When mixing your seed-to-sand ratio in Step 3, consider creating small test plots first. This lets you observe which species thrive in your microclimate before committing to large-scale planting. I've seen dramatic differences in germination rates between sunny and partially shaded areas—sometimes even within the same yard!
Pro Tips for Wild Seed Project
- These simple strategies will help you maximize your wild seed harvest and create a thriving pollinator habitat with m...
- Harvest Timing: The 24-48 hour drying period in Step 2 is non-negotiable for seed viability. If humidity is high, ext...
- Seed Identification: For beginners, focus on collecting seeds from plants with obvious pollinator activity—look for b...
Frequently asked questions
Got questions about transforming your lawn into a pollinator paradise with the Wild Seed Project? Here are some of the most common ones—and their answers—to help you get started!
What is the Wild Seed Project, and how does it work?
The Wild Seed Project is a grassroots initiative that provides free, native wildflower seed mixes designed to restore biodiversity and support pollinators like bees, butterflies, and birds. By replacing traditional lawns with these seeds, you create a low-maintenance, high-impact ecosystem that thrives with minimal intervention. Simply sow the seeds, water occasionally, and watch nature do the rest!
How long does it take for wildflowers to grow from seed?
Most native wildflower seeds germinate within 2–4 weeks under ideal conditions (warm soil, consistent moisture). However, full bloom may take 6–12 months, depending on the species. Some seeds, like clover or milkweed, might sprout faster, while others, like goldenrod, take longer. Patience pays off—once established, your pollinator paradise will flourish for years with little effort!
Do I need to water my wildflower lawn regularly?
During the first 4–6 weeks, keep the soil consistently moist (about 1 inch of water per week). After germination, reduce watering to once a week or let nature handle it—native plants are drought-tolerant once established. Overwatering can drown seeds, so aim for deep, infrequent watering to encourage strong root growth.
Will wildflowers attract pests like mosquitoes or ticks?
Not at all! Native wildflowers repel pests by supporting beneficial predators (like ladybugs and lacewings) that keep mosquitoes and ticks in check. Unlike standing water (which breeds mosquitoes), wildflower meadows provide habitat for pollinators and natural pest controllers. Plus, they’re far less appealing to ticks than tall, dense grass.
Can I still mow a wildflower lawn, or will it get out of control?
Once established, you can mow your wildflower meadow 1–2 times per year (late summer/early fall) to prevent seed dispersal and encourage new growth. Use a high mower setting (3–4 inches) to avoid cutting flowers. For a truly "wild" look, skip mowing entirely—many pollinators rely on seed heads for winter sustenance.
What if my wildflowers don’t grow? Troubleshooting tips.
Poor soil?
Amend with compost or use a light layer of mulch to improve drainage.
Too much shade?
Choose shade-tolerant seeds (like violets or asters) or supplement with sun-loving varieties.
Birds eating seeds?
Scatter seeds in small batches or lightly rake them into the soil.
Weeds taking over?
Hand-pull weeds early or use a mulching mower to suppress them.
Most issues stem from timing or soil prep—double-check your seed packet for specific care tips!
Wrapping up and next steps
The Wild Seed Project isn’t just about transforming your lawn—it’s about revitalizing ecosystems one seed at a time. 🌱 By embracing native wildflowers and grasses, you’re not only creating a pollinator paradise but also contributing to a greener, healthier planet. Your small actions can spark big change!
Ready to take the next step? Start small—whether it’s a corner of your yard or a windowsill garden—and watch your space (and the bees!) thrive. Join the movement today!