
Lawn
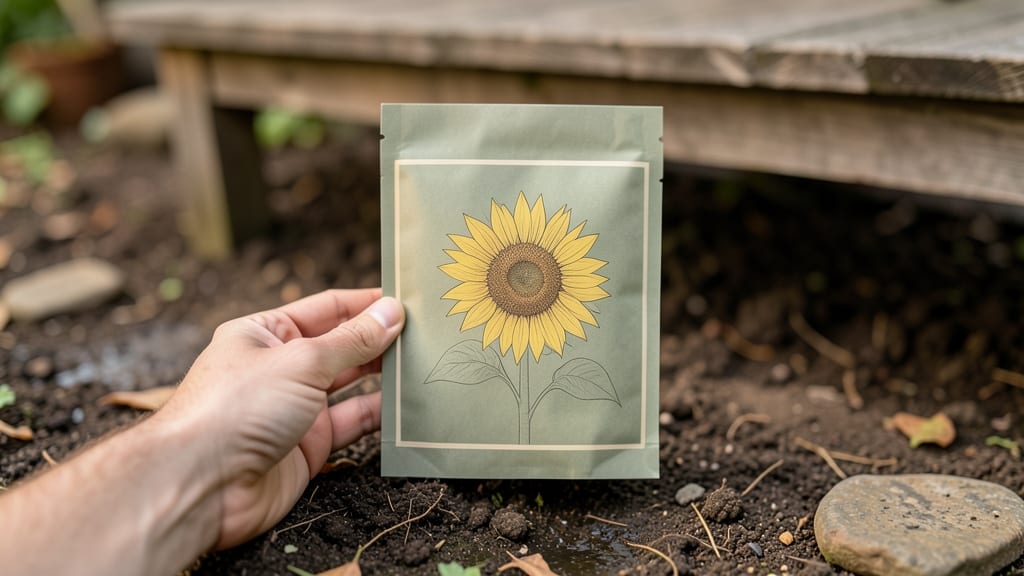
The back of every seed packet holds the secret to growing thriving plants—or failing spectacularly. 🌱 I’ve learned the hard way that ignoring those tiny print instructions means wilting seedlings and wasted time. Those few lines tell you exactly when, where, and how to plant for success.
You’ll find planting depth (like “¼ inch deep”), spacing (“12 inches apart”), and sunlight needs (“full sun” vs. “partial shade”). Germination time (“10-14 days”) and care tips (“keep soil moist”) are also there—critical details that turn guesswork into guaranteed growth.
Skipping this step is how I ended up with leggy, sad seedlings that never bloomed.
Once you decode it, you’ll plant with confidence—no more overcrowding, underwatering, or placing seeds in the wrong light. My tomatoes now thrive because I followed the packet’s “direct sow after last frost” rule. The difference between a thriving garden and a graveyard of seeds is reading those instructions carefully.
Pro tip: Bookmark this guide next time you’re tempted to eyeball it. Those packets aren’t just labels—they’re your gardening roadmap. Let’s break it down step by step so you never miss a detail again.
📚 In This Guide
- What you need
- Instructions
- Tips and common mistakes
- Wrapping up and next steps
What you need
- ● Seed packet – The star of the show! Choose one with clear planting instructions (e.g., days to germination, depth, spacing).
- ● Planting container or garden bed – A pot (6"+ depth for most seeds), raised bed, or in-ground plot with well-draining soil.
- ● Potting mix or garden soil – Lightweight, sterile mix (avoid garden soil if it’s heavy or compacted). Pro tip: Add perlite or vermiculite for better drainage!
- ● Watering can or spray bottle – A gentle spray nozzle helps avoid displacing tiny seeds.
- ● Measuring tools – A ruler or depth marker (for planting depth) and a spoon or stick (for creating furrows).
- ● Plant labels & markers – Popsicle sticks or biodegradable labels to track varieties (especially if planting multiple types!).
- ○ Gloves (optional but handy) – Protects hands from dirt and thorns (like sunflower seeds!).
- ● Seedling heat mat – Speeds up germination for slow starters (like tomatoes or peppers).
- ● Grow lights or sunny windowsill – Essential if starting indoors before the last frost.
- ● Fertilizer (starter or balanced) – Follow packet ratios (e.g., 5-10-10) to avoid overfeeding.
- ● Row cover or plastic wrap – Creates a mini greenhouse to retain moisture for delicate seeds.
- ● Camera or journal – Track progress with photos or notes (great for learning!).
Step-by-step guide to decoding planting instructions
Here's how I break down seed packet info to avoid confusion and grow thriving plants.
📜 Step 1: Locate the Key Planting Dates
Find the last frost date for your region—this tells you when to start seeds indoors or plant outside. Most packets list a days-to-germination range (like 7-14 days), so mark your calendar 2-3 weeks before that window to begin. I always highlight these dates in red on my seed packet to spot them instantly.
Look for planting depth (usually ¼ to ½ inch)—this is how deep you'll press seeds into soil. If it says "sow indoors 8-10 weeks before last frost", count backward from your local date. For example, if your last frost is May 15, start seeds around March 15. This ensures seedlings are ready when the weather warms.
🌱 Step 2: Understand Light and Spacing Needs
Seed packets often specify sunlight requirements like "full sun (6+ hours)" or "partial shade (3-6 hours)". Match this to your garden’s light conditions—if your spot gets only 4 hours of sun, choose shade-tolerant varieties. I test my garden’s sunlight by placing a white plate where I plan to plant; if it stays cool to the touch by midday, it’s shady.
Spacing instructions (like "12 inches apart") determine how many seeds to plant per pot or how far apart to space transplants. Crowding leads to weak plants, so I use toothpicks to mark spacing in seed trays before planting. For direct-sown seeds, sketch a grid on paper to visualize plant placement before digging.
💧 Step 3: Decode Watering and Soil Preferences
Watch for phrases like "keep soil moist" (water when top 1 inch feels dry) or "drought-tolerant" (water deeply but less often). Some packets mention soil pH (e.g., "acidic soil")—this affects nutrient uptake. I test my soil’s pH with a kit and amend it if needed (e.g., adding sulfur for acid-loving plants like blueberries).
If the packet says "thin seedlings to 6 inches apart", it means you’ll need to remove weaker plants after germination. I use scissors to snip seedlings at soil level—this is gentler than pulling. For container growing, check if the packet recommends small pots (2-3 inches deep) or larger ones (6+ inches) for better root development.
⏰ Step 4: Plan for Harvest and Maintenance
Notes like "harvest when pods turn yellow" or "pinch back flowers for bushier growth" are golden. I jot these on a sticky note near my plants as reminders. For succession planting (like lettuce), packets often suggest planting every 2-3 weeks—this keeps your harvest going all season.
If the packet mentions disease resistance (e.g., "powdery mildew resistant"), it’s a hint to avoid overcrowding or overhead watering. I always pair resistant varieties with proper spacing to prevent issues. For warm-season crops (like tomatoes), packets may say "plant after soil reaches 60°F"—use a soil thermometer to check before planting.
⚠️ Step 5: Avoid Common Missteps
Never ignore seed storage instructions—some seeds need refrigeration, while others last only 1-2 years. I store seeds in airtight containers with a desiccant packet in my freezer. If a packet says "soak seeds overnight", don’t skip it—this breaks dormancy for hard-coated seeds like beans.
Watch for height and spread estimates—if a plant grows 6 feet tall, it needs room! I sketch a rough outline in my garden plan to avoid overcrowding. For perennials, packets may say "hardy to Zone 5"—this tells you if the plant survives winter in your climate. I cross-reference this with my local zone to avoid wasting money on non-hardy plants.
Tips & tricks for decoding seed packets like a pro
These insider tricks will help you translate seed packet instructions into foolproof planting success every time.
Calendar Mapping: Use a colorful highlighter to mark both your last frost date and the 2-3 weeks before germination window on your calendar. I also circle the 8-10 weeks before last frost for indoor starts—this visual timeline prevents last-minute planting panic. Pro tip: Set phone reminders for each key date so you never miss a planting window.
Sunlight Test: That white plate trick in Step 2 works wonders! Place it in your potential planting spot at midday—if it stays cool, you've got shade. For 6+ hours of sun spots, I use a solar calculator app to track sunlight patterns for a full week before committing. This helps me avoid planting sun-loving tomatoes where they'll just wilt.
Soil Prep Shortcut: When packets mention acidic soil or 60°F soil temperature, grab a soil thermometer and pH kit from your garden center—they're under $20 combined. I test my soil before planting and adjust with compost or sulfur as needed. This small investment prevents wasted seeds on unsuitable soil conditions.
Thinning Made Easy: For that 6-inch spacing after germination, I use a ruler to measure between seedlings and mark with a soft pencil on the soil surface. This creates visual guides for thinning without guessing. For container plants, I actually draw spacing grids on the pot bottom with a washable marker before planting!
Pro Tips for Back Of A Seed Packet
- These insider tricks will help you translate seed packet instructions into foolproof planting success every time.
- Calendar Mapping: Use a colorful highlighter to mark both your last frost date and the 2-3 weeks before germination w...
- Sunlight Test: That white plate trick in Step 2 works wonders! Place it in your potential planting spot at midday—if ...
Frequently asked questions
Got questions about those tiny but mighty seed packets? You’re not alone! Here are some of the most common queries—and clear, actionable answers to help you grow like a pro.
What does "days to maturity" mean, and why does it matter?
"Days to maturity" tells you how long it’ll take from planting to harvest (or full growth). For lawn seeds, this often means time to mowing—not edible maturity. Fast-growing varieties (like annual ryegrass) may reach mowable height in 14–21 days, while cool-season grasses like Kentucky bluegrass take 20–30 days. Plan ahead for foot traffic or weather delays!
Can I plant seeds if the packet says "sow in spring" but it’s already summer?
Check the hardiness zone and light requirements on the packet first! Some seeds (like clover or fescue) tolerate summer sowing if you water deeply and shade seedlings. For warm-season grasses (e.g., Bermuda), summer planting is ideal. Pro tip: If in doubt, ask your local nursery for regional adjustments!
What if I forget to water after planting?
Don’t panic! Seeds need consistent moisture to germinate—keep soil damp (not soggy) for the first 7–14 days. If you miss a watering, check for hardened soil (a crusty top layer). Gently break it with a fork and water again. Overwatering is worse—it can drown seeds or cause mold. A light misting 2x/day works best.
Can I reuse old seed packets, or do I need to buy new ones?
Yes! Store seeds in a cool, dry place (like a sealed jar in the fridge) for 1–3 years past the printed date. Check the germination rate (usually listed) to gauge viability. For lawn seeds, freshness matters most—older packets may have lower success rates. If the packet feels brittle or smells off, toss it!
What if the weather turns too hot/cold after planting?
Extreme temps can stall germination. For heat stress (above 90°F), use shade cloth or water early mornings to cool soil. For cold snaps (below 50°F), cover seeds with a light row fabric until danger passes. Most lawn seeds thrive in 60–75°F soil temps—use a soil thermometer if unsure!
Wrapping up and next steps
Decoding the back of a seed packet doesn’t have to feel like cracking an ancient code—it’s your secret guide to growing a thriving lawn or garden! 🌱 From spacing and depth to sunlight needs, every detail is there to set you up for success.
Now that you’re armed with the know-how, grab those seeds and let your green thumb shine.
Ready to take the next step? Start small—pick a sunny patch, prep the soil, and plant your first row. Watching those sprouts break through the earth is the most rewarding part! 🌿