
Lawn
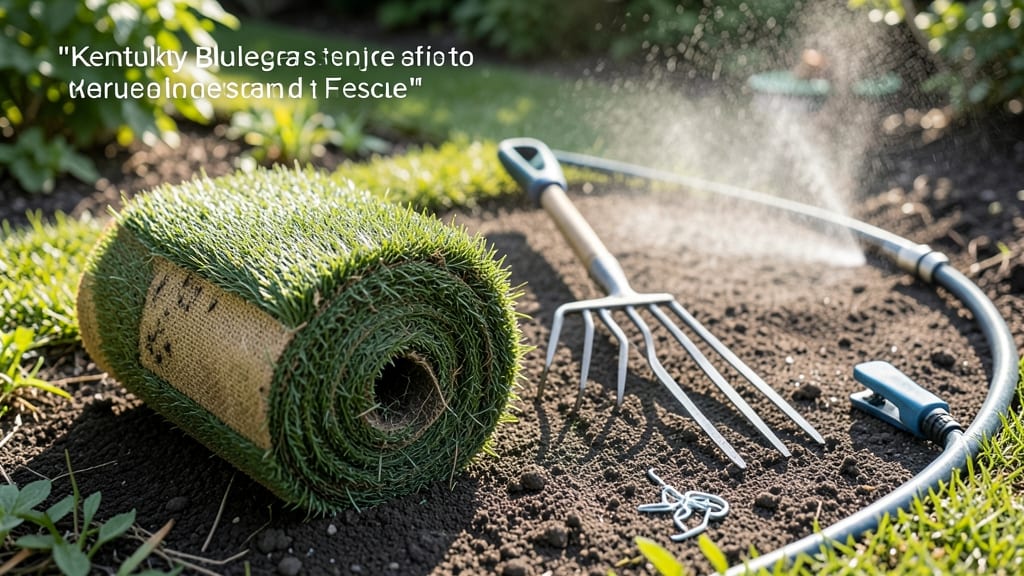
Lawn seed rolls eliminate the frustration of uneven germination and patchy grass. 🌱 I’ve used them for three seasons now, and the difference is night-and-day compared to loose seed—no more clumps, no more wind scatter, just consistent coverage that holds up through frost.
The secret lies in the pre-measured strips and the way they adhere to the soil. You’ll need a rake, a hose with a gentle spray nozzle, and a light layer of starter fertilizer.
Spread them in overlapping rows, then water immediately to activate germination—no waiting for seeds to settle into the soil. Within 10-14 days, you’ll see uniform sprouts, and by 4-6 weeks, the grass will be dense enough to handle foot traffic.
The rolls even out moisture retention, so you won’t overwater or underwater like you might with loose seed. Works for both new lawns and patch repairs, and it’s especially useful in windy areas where loose seed would blow away. Here’s how to do it right the first time.
📚 In This Guide
- What you need
- Instructions
- Tips and common mistakes
- Wrapping up and next steps
What you need
- ● Lawn seed: Choose a high-quality, frost-resistant grass seed mix (e.g., Kentucky Bluegrass, Fescue, or Ryegrass). Aim for 10-15 lbs per 1,000 sq. ft. depending on your grass type.
- ● Burlap or landscape fabric: 1 roll (3-4 ft. wide) to wrap the seed rolls. Avoid plastic—it traps moisture and can suffocate seeds!
- ● String or twine: 50-100 ft. (biodegradable if possible) to secure the rolls.
- ● Water: A hose with a gentle spray nozzle or a watering can for even moisture distribution.
- ● Garden hose or sprinkler: For light, frequent watering (critical for germination!).
- ● Gloves and knee pads: To protect your hands and knees during prep and installation.
- ○ Rake (optional but helpful): A fine-toothed rake to level the soil and remove debris before seeding.
- ● Starter fertilizer: A slow-release, seed-friendly formula (e.g., 10-10-10) to boost early growth.
- ● Soil test kit: To check pH and nutrient levels before seeding. Ideal range: 6.0-7.0.
- ○ Mulch or straw: 1 bale (optional alternative to burlap for moisture retention).
- ● Lawn roller (lightweight): To gently press seed rolls into the soil for better contact.
- ● Shade cloth (if needed): For areas with intense sun or heat during germination.
Step-by-step instructions for creating lawn seed rolls
Here's how to make seed rolls that germinate evenly and establish a thick, frost-hardy lawn without twists or bare spots.
🌱 Step 1: Prepare Your Roll Materials
Gather a clean, 4-foot wide strip of landscape fabric or burlap—this will form the base of your roll. I like to use landscape fabric because it blocks weeds while still allowing water and air to reach the soil. Cut it to 10 feet long for a standard roll (adjust length for larger areas).
Next, spread 1 pound of lawn seed evenly across the fabric. Use a broadcast spreader set to the recommended rate for your grass type—this ensures uniform coverage without clumping. For frost-resistant varieties, mix in ½ pound of starter fertilizer with the seed to give young roots an energy boost right away.
💧 Step 2: Roll and Secure the Seed-Filled Fabric
Starting at one end, carefully roll the fabric tightly but not so tight it compresses the seed. I like to roll it like a burrito—hold the fabric at both ends and roll toward myself while keeping tension even. This prevents gaps where seed might spill out during transport. Once rolled, secure the ends with twine or zip ties to keep it from unraveling.
For extra stability, I wrap the entire roll with a second layer of landscape fabric, secured with more twine. This double-wrapping prevents the roll from fraying when you unroll it later. The goal is a neat, cylindrical package that can be easily moved and unrolled without losing seed or disturbing the fabric.
☀️ Step 3: Prepare the Lawn Area
Before unrolling, clear the area of rocks, debris, and weeds—seed rolls need direct contact with soil to germinate properly. I like to use a rake to create a slightly rough surface; this helps the fabric grip the ground better once unrolled. For new lawns, till the top 2-3 inches of soil to loosen compaction and improve seed-to-soil contact.
Water the prepared area lightly until the soil is moist but not soggy. You want the top inch to feel damp like a wrung-out sponge. This pre-moistening ensures the seed makes immediate contact with water when you unroll, which kickstarts germination faster. Avoid overwatering—the fabric will hold moisture well once in place.
🪴 Step 4: Unroll and Secure the Seed Roll
Lay the roll at one end of your prepared area and unroll it slowly, smoothing out any twists as you go. I use my hands to gently press the fabric into the soil, ensuring it lies flat without bubbles or gaps. For larger areas, have a helper hold the roll steady while you unroll—this prevents the fabric from curling back up.
Once unrolled, secure the edges with landscape staples or heavy garden pins, driving them into the soil every 12-18 inches. This keeps the fabric in place while the seed germinates. For frost-resistant grass, I like to add a ¼-inch layer of straw mulch over the fabric to protect the seed from drying out or temperature fluctuations during early growth.
⏰ Step 5: Water and Maintain Until Germination
Water the roll immediately after unrolling with a gentle spray or soaker hose—aim for ¼ inch of water evenly distributed. The fabric will wick moisture to the seed, so avoid heavy watering that could dislodge the roll. Check daily and water again when the top inch of soil feels dry to the touch. Consistency is key here; uneven moisture causes patchy germination.
Watch for the first signs of germination in 7-14 days, depending on your grass type and weather. You'll see tiny green blades push through the fabric, usually starting at the edges where warmth and moisture concentrate. Once the grass reaches 2-3 inches tall, you can remove the fabric strips—just peel them back carefully to avoid disturbing the roots.
Tips & tricks for perfect lawn seed rolls
Here's what I've learned after perfecting these seed rolls for frost-resistant lawns—tricks that make all the difference between patchy results and lush, even germination.
Fabric Selection: Landscape fabric is my go-to for seed rolls because it blocks weeds while still allowing water and air to reach the soil. If you're using burlap instead, be aware it breaks down faster—consider adding an extra layer of twine to reinforce the roll. For larger areas, I sometimes use a heavier-weight fabric (like 3-ounce) to prevent tearing when unrolling.
Seed Distribution: The 1 pound of lawn seed should be spread evenly across the entire 4-foot width using a broadcast spreader. I like to shake the spreader gently as I move to avoid clumps—uneven seed distribution leads to thin spots later. For frost-resistant varieties, that ½ pound of starter fertilizer makes all the difference in early root development, so mix it thoroughly with the seed.
Rolling Technique: When rolling in Step 2, think "burrito" not "tight cylinder." Too much pressure compresses the seed and reduces germination. I roll from one end while keeping tension even—this prevents gaps where seed might spill out. The double-wrapping with extra fabric is worth it; I've seen single-wrapped rolls unravel completely during transport.
Pre-Watering Secret: That pre-moistening step in Step 3 is crucial—aim for soil that's damp like a wrung-out sponge. I test by squeezing a handful; water should bead up but not drip. Overwatering here can cause the fabric to slip when you unroll later. A light misting with a spray bottle works well for touch-ups if you're working in dry conditions.
Pro Tips for Lawn Seed Rolls
- Here's what I've learned after perfecting these seed rolls for frost-resistant lawns—tricks that make all the differe...
- Fabric Selection: Landscape fabric is my go-to for seed rolls because it blocks weeds while still allowing water and ...
- Seed Distribution: The 1 pound of lawn seed should be spread evenly across the entire 4-foot width using a broadcast ...
Frequently asked questions
Got questions about lawn seed rolls? You’re not alone—these handy tools can seem tricky at first! Here are answers to the most common queries to help you get started with confidence.
What’s the best time of year to use lawn seed rolls?
For frost-resistant grass, plant seed rolls in early fall (September–October) or early spring (March–April). Cool temperatures and consistent moisture boost germination rates. Avoid extreme heat or drought—seed rolls dry out fast in summer!
How long does it take for grass to sprout from seed rolls?
Most varieties sprout in 7–21 days under ideal conditions (moist soil, 60–75°F temps). Check the seed packet for specifics! Lightly water daily (not soaking) until you see green blades. Patience pays off—thick grass starts slow but grows fast.
Are seed rolls more expensive than loose seed?
Yes, seed rolls cost $1–$3 per roll (vs. $0.50–$1.50 per pound for loose seed), but they’re worth it for ease and precision. No spreading, no waste, and better coverage on slopes or odd-shaped areas. Think of them as a shortcut for busy homeowners!
What if my seed rolls won’t stick to the ground?
If rolls keep unrolling, try these fixes:- Moisten the soil first—damp earth grips better.
- Use a lightweight tarp or burlap to weigh them down temporarily.
- Avoid windy days—plant on calm mornings.
Can I use seed rolls in shady or sunny areas?
Check the seed type! Fescue or ryegrass rolls thrive in shade (20–50% sunlight), while Bermuda or Zoysia need full sun (6+ hours). Mix rolls for partial shade if needed. Always match your lawn’s light conditions to the seed label.
Wrapping up and next steps
Transforming your lawn into a lush, frost-resistant carpet has never been easier with lawn seed rolls! By following these simple steps, you’ve unlocked a faster, twist-free way to achieve thick, vibrant grass that stands up to harsh winters.
The key? Proper prep, precise rolling, and consistent care—now you’re ready to watch your efforts pay off in weeks.
Ready to take the next step? Grab your materials, mark your calendar for follow-up watering, and enjoy the satisfaction of a stunning lawn—without the headaches. Your future green oasis starts today! 🌱✨