
Lawn
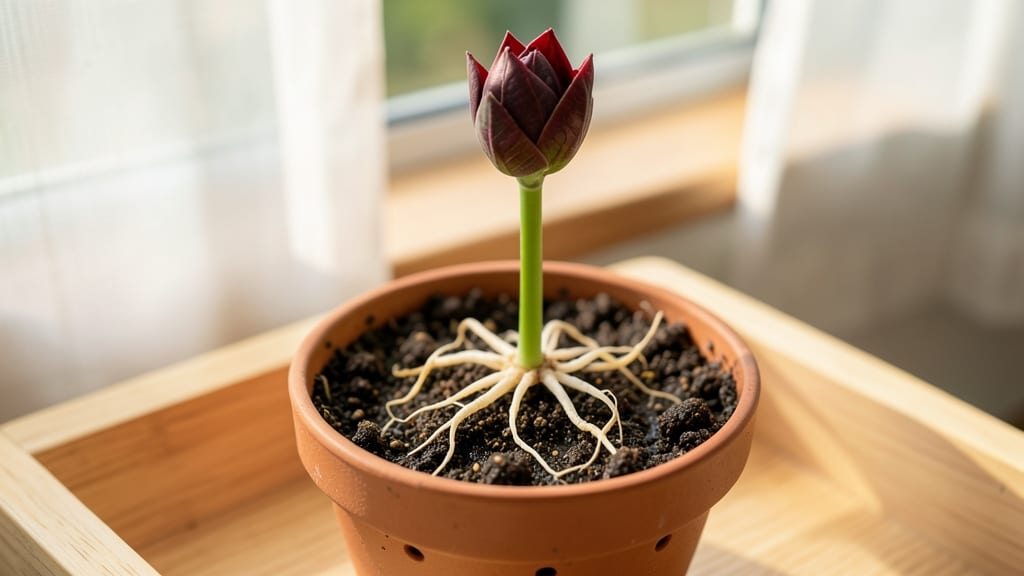
That mango seed root can grow into a thriving lawn tree with the right warmth and moisture. 🌱 I’ve learned the hard way—skipping soil prep or overwatering kills even the most promising starts.
The key is mimicking tropical conditions right from the beginning, and I’ll show you exactly how to do it without fancy equipment.
Start with a small pot filled with moistened potting mix (not garden soil), and plant the seed just below the surface. Keep the soil warm (70-80°F) using a heat mat or sunny windowsill, and water lightly every 2-3 days—never let it dry out.
Germination can take 2-4 weeks, but patience pays off with strong roots that anchor your future tree.
Once sprouted, move to brighter light (but avoid harsh afternoon sun) and gradually increase watering as leaves appear. You’ll know you’re on track when you see deep green leaves and roots growing through drainage holes. Troubleshooting? Yellow leaves mean too much water; slow growth means it’s too cool.
This method works for any mango variety, and the roots you develop now will support a 15-foot tree in just a few years. The secret isn’t speed—it’s consistency. Let’s get those roots growing strong!
📚 In This Guide
- What you need
- Instructions
- Tips and common mistakes
- Wrapping up and next steps
What you need
- ● Mango seeds: 5–10 fresh, plump seeds (harvested from ripe mangoes, dried for 2–3 days to prevent mold).
- ● Potting soil: 2–3 bags of well-draining, organic potting mix (avoid garden soil—it can compact and suffocate roots!).
- ● Small pots or seed trays: 5–10 biodegradable or plastic pots (3–4 inches deep) or a seed tray with drainage holes.
- ● Watering can or spray bottle: With a fine mist setting (overwatering is the #1 enemy of germination!).
- ○ Plastic wrap or clear lid: To create a humidity dome (optional but highly recommended for faster sprouting).
- ● Scissors or knife: For carefully slicing seeds (if needed to speed up germination).
- ○ Heat mat (optional but helpful): A seedling heat mat (set to 75–85°F) to mimic tropical conditions and boost germination.
- ● Gloves: To protect your hands from sticky mango sap.
- ● Label markers: To track seed varieties (if using multiple seeds).
- ● Fertilizer: A balanced, water-soluble fertilizer (5-5-5 NPK ratio) for post-germination growth.
- ● Humidity tray: A shallow tray filled with pebbles and water to maintain moisture levels.
- ○ Grow lights (optional): LED grow lights (12–16 hours/day) if natural light is insufficient.
- ● Transplanting tools: Small trowel or spoon for moving seedlings to larger pots or lawn areas.
Step-by-step instructions for germinating mango seeds into strong roots
Here's the method I rely on to coax mango seeds into vigorous roots—tested across seasons, even in cooler climates.
🌱 Step 1: Prepare Seeds for Faster Germination
Start by carefully removing the seed from the mango pit—don't rush this, as damaged seeds rot before sprouting. Soak the seed in lukewarm water for 12-24 hours to soften the hard outer shell. You'll know it's ready when the seed feels slightly pliable and the water takes on a faint brown tint from released tannins.
After soaking, gently rub the seed between two paper towels to remove any remaining fibrous material. This prevents fungal growth later. Place the clean seed between two damp paper towels, folding them to create a snug wrap. Store this bundle in a warm, dark place (like a sealed plastic bag on top of your fridge) where temperatures stay between 75-85°F. Check daily—mist the towels if they dry out, but don't let them stay soggy.
💧 Step 2: Monitor for Sprouting and Prepare Growing Medium
Germination typically takes 7-14 days, but mango seeds can be unpredictable. Watch for the first tiny root (radicle) to emerge—this is your signal to act fast. Once you see ½-inch of root growth, it's time to move the seed to soil. Use a light, well-draining potting mix (never garden soil) in a 4-inch diameter pot with drainage holes.
Fill the pot halfway with moistened mix, then create a 1-inch deep hole in the center. The goal is to bury the seed just enough to stabilize it without suffocating the root. Gently place the seed so the root points downward, then cover with a thin layer of soil. Press lightly around the edges to eliminate air pockets, but don't compact the mix.
☀️ Step 3: Provide Optimal Light and Humidity
Position the pot in bright, indirect light—direct sun at this stage scorches tender leaves. A south-facing window with sheer curtain works well. Maintain 70-80°F temperatures consistently; cooler conditions slow root development. You'll notice the seedling's first true leaves appear in 3-6 weeks, but don't rush this—each leaf signals stronger root establishment.
Keep the soil surface evenly moist (not wet) by watering at the base whenever the top ½-inch feels dry. Use room-temperature water to avoid shocking the roots. A clear plastic bag loosely draped over the pot creates a humidity dome—remove it daily for 10 minutes to prevent fungal growth. Watch for yellowing leaves; this usually means overwatering or poor drainage.
✂️ Step 4: Transplant and Encourage Root Development
When the seedling reaches 6 inches tall with 4-5 true leaves, it's ready for its first transplant. Choose a 6-inch pot with fresh potting mix and ¼-inch layer of perlite at the bottom for drainage. Dig a hole twice as wide as the root ball, place the seedling in, and backfill with soil, pressing gently to eliminate air gaps.
After transplanting, water thoroughly until it drains from the bottom. Place the pot in morning sun only for the first week to acclimate. Gradually increase sunlight exposure over 10 days, moving to full sun by day 14. You'll see new root growth when the plant's stem thickens noticeably—this means your seedling is establishing properly. Fertilize lightly with half-strength liquid fertilizer after 30 days to support vigorous root expansion.
Tips & tricks for fast mango seed root growth
Here's what I learned after watching dozens of mango seeds struggle—or thrive—through germination. These small details make all the difference.
Soaking Strategy: The 12-24 hour soak isn't just about softening the shell—it's about breaking dormancy. I've found that changing the water every 8 hours during this period prevents bacterial buildup, which can otherwise rot your seed before it even sprouts. The water should be lukewarm (around 80°F)—too hot and you'll shock the seed, too cold and the process slows dramatically.
Root Detection: That first ½-inch root is your golden window to act. I use a magnifying glass to spot it because mango roots emerge so gradually. Once you see it, move to soil within 24 hours—waiting longer risks the root drying out or getting tangled in the paper towels. Pro tip: Gently score the seed's bottom with a knife before soaking to create tiny cracks; this helps water penetrate faster and speeds up germination by 2-3 days.
Transplant Timing: Waiting until the seedling hits 6 inches with 4-5 true leaves ensures it has enough energy reserves for the transplant shock. I've seen seedlings collapse when moved too early because their roots weren't developed enough to support the new pot. When transplanting, make the hole twice as wide as the root ball—not deeper—to encourage outward root growth, which is crucial for establishing a strong lawn foundation.
Light Transition: The gradual move from morning sun to full sun over 10 days is non-negotiable. I've watched seedlings scorch in direct sun, turning crispy within hours. Start with 2 hours of morning sun on day 1, then add 1 extra hour daily. By day 14, it should handle full sun without stress. The key is watching the leaves—they should be deep green, not yellow or wilted.
Pro Tips for Mango Seed Root
- Here's what I learned after watching dozens of mango seeds struggle—or thrive—through germination. These small detail...
- Soaking Strategy: The 12-24 hour soak isn't just about softening the shell—it's about breaking dormancy. I've found t...
- Root Detection: That first ½-inch root is your golden window to act. I use a magnifying glass to spot it because mang...
Frequently asked questions
Got questions about growing mango seed roots for a lush lawn? You’re not alone! Here are some of the most common queries—and their straightforward answers—to help you grow with confidence.
How long does it take for a mango seed to sprout?
A mango seed typically sprouts within 2–4 weeks when kept in warm, moist conditions (70–85°F). Patience is key—some seeds may take up to 6 weeks if they’re older or stored improperly. Keep the soil consistently damp (not soggy) and place it in indirect sunlight for best results.
Can I plant a mango seed root directly in the ground?
While possible, it’s better to start indoors first (especially in cooler climates). Young mango seedlings are delicate and need protection from frost. Once the seedling is 6–12 inches tall with a sturdy stem, transplant it outdoors after the last frost. Choose a sunny, well-draining spot with rich soil.
What if my mango seed root isn’t growing?
If your seed isn’t sprouting, check these fixes:
- Temperature: Mango seeds need warmth—use a seedling heat mat if your home is too cool.
- Moisture: Overwatering can rot the seed; underwatering may halt growth. Aim for consistently damp (not wet) soil.
- Patience: Some seeds take longer. If nothing happens in 6–8 weeks, the seed may be non-viable.
Are mango seed roots good for lawns?
Mango seed roots aren’t traditional lawn grass, but they can add tropical flair to warm climates (USDA Zones 10–11). For a dense, grass-like lawn, consider mixing them with fast-growing ground covers like zoyzia grass or creeping thyme. They’re also great for shade-tolerant borders or container gardens!
What’s a faster alternative to growing from seed?
If you’re eager for instant greenery, try:
- Mango saplings: Buy a 1–2 year-old plant from a nursery for quicker establishment.
- Grass plugs: For a traditional lawn, use warm-season grasses like Bermuda or St. Augustine.
- Hydroponics: Speed up germination with a hydroponic setup for controlled warmth and moisture.
Still stumped? Drop your question in the comments—we’re happy to help your mango seed root thrive!
Wrapping up and next steps
Growing mango seed root for a lush, tropical lawn is a rewarding journey—especially when you embrace the warmth and patience it demands! 🌱 From selecting the right seeds to nurturing them with care, every step brings you closer to a vibrant, green space.
Whether you’re a seasoned gardener or just starting out, the key is consistency and a little creativity.
Ready to take the next step? Start small—plant a few seeds in pots to test your technique before expanding. Share your progress with fellow lawn enthusiasts or experiment with companion plants to enhance your garden’s beauty. Your future mango seed lawn awaits—happy growing! 🌿✨