
Picking
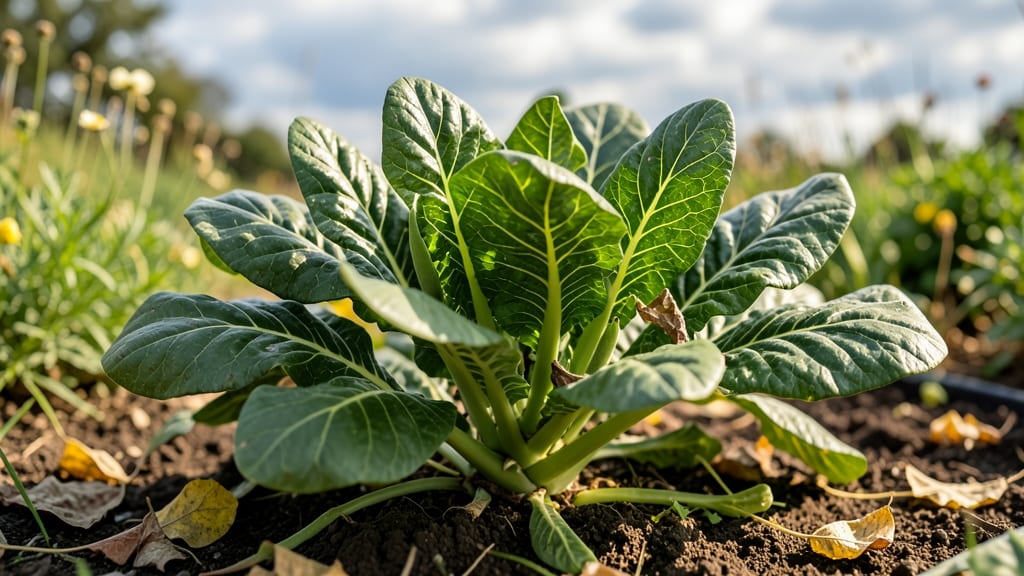
Nothing beats the satisfaction of harvesting your own collard greens seed pods—especially when you know they’ll grow into next year’s lush, frost-hardy plants. 🌱 I’ve saved seeds for years, and the key is timing: wait until the pods turn brown and papery, then snip them carefully before they split open.
One wrong move and you’ll lose your harvest to hungry birds or scattered seeds. The process is simpler than it sounds: lay pods on a dry towel, let them dry for 2 weeks, then store them in a cool, dark place.
I’ve kept viable seeds for 3+ years this way, though germination drops after year two. For organic gardeners, this means no store-bought seeds—and no chemical treatments to worry about. You’ll end up with seedlings that outperform store-bought plants, thriving in poor soil and cold snaps.
The first true leaves appear in 10-14 days, and by late summer, you’ll have a garden full of nutrient-packed greens. Just remember: collards love full sun and consistent moisture, or they’ll bolt faster than you can say “pesto.”
This method works for any variety, whether you’re growing heat-tolerant Southern types or cold-hardy Northern strains. Ready to turn this year’s harvest into next year’s foundation? Let’s get those pods dried and stored properly.
📚 In This Guide
- What you need
- Instructions
- Tips and common mistakes
- Wrapping up and next steps
What you need
- ● Collard greens plants – Mature plants (at least 60-90 days old) with seed pods forming.
- ● Sharp pruning shears or scissors – For cleanly harvesting pods without damaging the plant.
- ● Paper bags or breathable mesh bags – 2-3 bags (10x12 inches) to collect pods and allow airflow.
- ● Drying rack or screen – A flat, elevated surface (like a wire rack or old window screen) to air-dry pods.
- ● Labeling tags & permanent marker – To mark seed pods with the variety and harvest date.
- ● Air-tight storage containers – Small jars, envelopes, or resealable bags (1-2 quart size) for long-term storage.
- ○ Desiccant packets (optional) – For extra moisture control in storage containers.
- ● Dry, warm conditions – Ideal drying temps: 60–80°F (15–27°C) with low humidity (below 50%).
- ● Indoor space – A well-ventilated area (like a garage, shed, or kitchen) away from direct sunlight.
- ● Patience! – Seed pods need 2–4 weeks to fully dry, depending on conditions.
- ● Harvest pods when they’re brown and dry but before they split open! 🌬️
- ● Thin pods can be stored whole; thick pods may need cracking open to release seeds.
- ● For extra security, store seeds in the fridge (35–40°F) for up to 5 years.
Step-by-step guide to harvesting, drying, and storing collard greens seed pods
Ready to save seeds from your collard greens? Here’s how to turn this year’s harvest into next year’s plants.
🌱 Step 1: Identify and Select Mature Seed Pods
Wait until your collard greens produce long, dry seed pods that turn from green to tan or brown—this signals maturity. I like to check plants in late summer or early fall, just before frost. Pick pods that feel paper-thin and brittle when squeezed gently. Avoid pods that are still green or swollen, as they won’t be fully mature.
Harvest on a dry, sunny day to prevent moisture from encouraging mold. Use clean, sharp scissors or pruners to snip the pods directly from the stem. Place them in a paper bag (not plastic) to allow airflow while keeping them contained. This step ensures you’re only working with viable seeds ready for storage.
🌿 Step 2: Dry the Seed Pods Properly
Spread the pods in a single layer on a clean, dry surface like a mesh screen or a piece of cardboard. Choose a warm, well-ventilated spot with indirect sunlight—direct sun can overheat and crack the pods. I place mine on a windowsill with a fan blowing gently to speed up drying without risking moisture buildup.
Let the pods dry for 7-10 days, stirring them occasionally to ensure even drying. They’re ready when the pods split open easily and the seeds inside look dark and dry. If any pods develop mold or smell musty, remove them immediately and discard. Proper drying is critical—undried seeds won’t store well and may spoil.
✂️ Step 3: Extract and Clean the Seeds
Once the pods are completely dry, gently rub them between your palms or use a clean, dry cloth to release the seeds. Avoid crushing the seeds—just let them fall out naturally. I like to do this over a white bowl or tray so I can easily spot any debris or damaged seeds. Discard any seeds that look discolored, shriveled, or misshapen—these won’t grow well.
Sift the seeds through a fine-mesh strainer to remove any remaining pod fragments or dust. Store the clean seeds in a small envelope or airtight container labeled with the variety name and harvest year. This keeps them organized and ready for next season’s planting.
🪴 Step 4: Store Seeds for Long-Term Viability
Place the labeled container in a cool, dark, and dry place—like a pantry or refrigerator. Collard green seeds stay viable for 2-4 years if stored properly. I keep mine in a small glass jar with a tight-sealing lid to protect them from moisture and pests. Avoid plastic bags, as they trap humidity and encourage mold.
Check the seeds annually for signs of spoilage, like musty smells or visible mold. If you notice anything off, discard those seeds immediately and start fresh. Proper storage ensures you’ll have healthy, ready-to-plant seeds when you’re ready to grow collards again.
⏰ Step 5: Test Seed Viability Before Planting
Before planting your stored seeds, test their viability by placing 10 seeds between two damp paper towels in a ziplock bag. Keep them in a warm spot (around 70°F) and check daily. If 50% or more sprout within 7-10 days, your seeds are good to go. If fewer than half sprout, consider mixing old seeds with fresh ones for better germination.
This simple test saves you from planting dozens of seeds only to find they won’t grow. Once you confirm viability, you’re ready to start your next batch of collard greens with confidence!
Tips & tricks for perfect collard greens seed pod preservation
Saving collard green seeds for next season doesn't have to be a guessing game—these simple tricks will help you maximize your harvest and ensure your seeds stay viable for years.
Timing is Everything: Harvest your seed pods when they're fully tan or brown, but before they split open naturally. I've learned the hard way that waiting too long means seeds scatter everywhere, while harvesting too early gives you immature seeds. Check pods in late summer or early fall, just before the first frost hits your area. A quick squeeze test—if they feel paper-thin and brittle—is your best indicator of readiness.
Drying Strategy: The 7-10 day drying period is non-negotiable for seed viability, but you can speed things up safely. Place your pods on a mesh screen in a warm, ventilated spot with indirect sunlight. I've found that adding a small fan on low creates gentle airflow that prevents mold while maintaining even drying. Stir the pods every couple of days to ensure all sides dry uniformly—this prevents any hidden moisture that could lead to spoilage.
Storage Wisdom: Glass jars with tight-sealing lids are my go-to for long-term seed storage because they're airtight and easy to label. I always include the variety name and harvest year on my jars—this helps me track which seeds are freshest. For extra protection, place a small packet of silica gel in the jar (the kind you get in shoe boxes) to absorb any residual moisture. This simple addition can extend your seeds' viability by another year or more.
Viability Test: That 70°F warm spot for your germination test doesn't have to be a fancy setup. I've used everything from a sunny windowsill to the top of my refrigerator (which stays at exactly 70°F) with great success. The key is consistency—keep the paper towels damp but not soaked, and check daily. If you're short on time, you can speed up the process by placing the bag in a warm, dark spot like on top of your fridge or near a warm baseboard heater.
Pro Tips for Collard Greens Seed Pods
- Saving collard green seeds for next season doesn't have to be a guessing game—these simple tricks will help you maximize your harvest and ensure your seeds stay viable for years.
- Timing is Everything: Harvest your seed pods when they're fully tan or brown, but before they split open naturally.
- Drying Strategy: The 7-10 day drying period is non-negotiable for seed viability, but you can speed things up safely.
Frequently asked questions
Got questions about collard greens seed pods?
You’re not alone! Here are answers to the most common queries—from harvesting to storage—so you can save seeds like a pro.
When is the best time to harvest collard greens seed pods?
Harvest seed pods when they’re dry and brown but before they split open—usually 6–8 weeks after flowering. If pods crack too soon, seeds scatter. Aim for late summer to early fall in warm climates or wait until spring in cooler zones. Pro tip: Pick pods on a dry day to prevent mold.
Can I save seeds from store-bought collard greens?
No—store-bought greens are often hybrids and won’t produce true-to-type seeds. For reliable seeds, grow heirloom varieties like ‘Georgia Southern’ or ‘Blue Max.’ Save seeds from your own healthy, disease-free plants for the best results. Bonus: Label pods to track varieties!
How long do dried collard greens seeds stay viable?
Properly dried and stored seeds last 2–4 years in a cool, dark place (like a sealed jar in the fridge). Test viability by floating seeds in water—sinkers are good; floaters may be stale. For long-term storage, add a silica gel packet to your seed jar.
Why won’t my collard greens produce seed pods?
Common reasons include:
- No pollination: Hand-pollinate flowers with a soft brush if bees are scarce.
- Immature plants: Collards need 60+ days to flower. Give them time!
- Poor conditions: Stress (drought, heat) can halt seed production. Keep soil moist and fertile.
What’s the easiest way to dry collard greens seed pods?
Spread pods in a single layer on a mesh screen or paper towels in a warm, dry, shaded spot (like a garage or basement). Avoid direct sun—it can cause pods to crack. Stir daily for 2–3 weeks until seeds rattle inside. Alternative: Use a food dehydrator on low heat (95°F) for 4–6 hours.
Wrapping up and next steps
Growing and saving your own collard greens seed pods is a rewarding way to ensure a fresh harvest for seasons to come! 🌱 With the right timing, tools, and storage know-how, you can turn this year’s bounty into next year’s garden staples.
Whether you’re a seasoned gardener or just starting out, every saved seed is a step toward self-sufficiency and delicious, homegrown meals.
Ready to put your new skills to work? Start by harvesting a few pods today—your future self (and taste buds!) will thank you. Happy gardening! 🌿