
Lawn
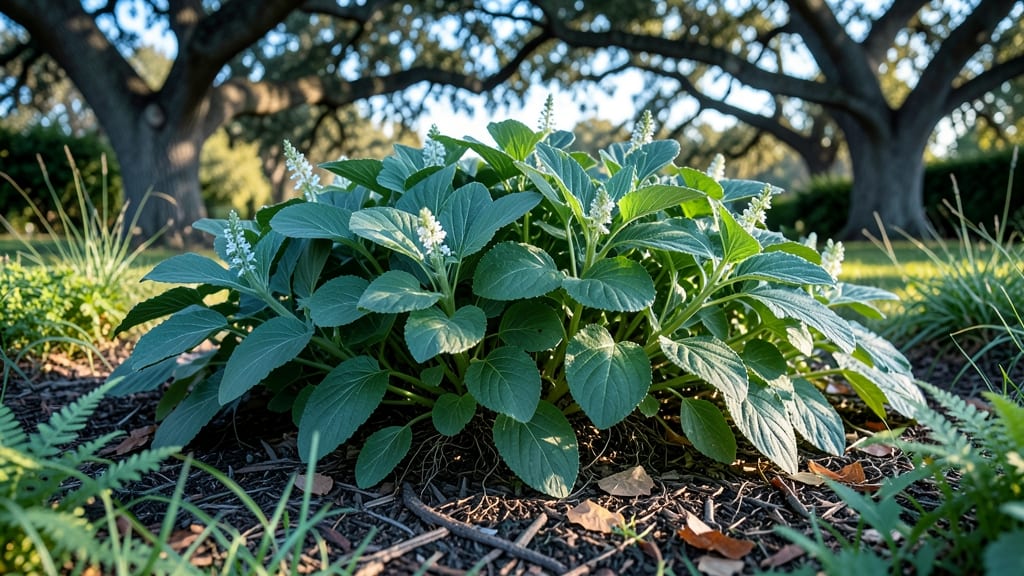
That mysterious unsolicited seed package in your mailbox might hold more than just surprises—it could be a test of whether those seeds are still viable after years of sitting. I’ve opened enough unsolicited seed packages to know that some are worth planting, while others are better left unopened (or reported).
The twist-free viability test is your first step to deciding what to do with them without risking your garden or local ecosystem.
Start by checking the seed packet for clues: expired dates, suspicious seals, or no return address are red flags. If it looks legitimate, perform a simple twist test—gently twist the packet between your fingers. If the seeds inside feel dry and crumbly, they’re likely past their prime.
But if they still have a slight give, they might still sprout. This quick check helps you avoid wasting time (or money) on seeds that won’t grow.
If the seeds pass the test, plant a few in a small pot or directly in the ground to see if they germinate. Keep an eye out for any unusual growth patterns or invasive traits—some unsolicited seeds might be non-native species that could disrupt local plant communities.
If they fail to sprout or show concerning characteristics, it’s safer to discard them properly (not in compost or open areas).
For packages that raise concerns—like those from unknown sources or with suspicious labels—report them to organizations like the USDA or local agricultural extensions. Ethical gardening means protecting your garden and the environment, so a little caution goes a long way.
Now, grab those seeds and let’s figure out what to do with them!
📚 In This Guide
- What you need
- Instructions
- Tips and common mistakes
- Wrapping up and next steps
What you need
- ● Unsolicited seed packets – Any quantity (the more, the merrier!)
- ● Paper towels – 2–3 sheets per packet (or a single large sheet if testing multiple seeds)
- ● Plastic ziplock bags – 1 per seed packet (quart-sized works best)
- ● Spray bottle with water – For gentle moisture control
- ● Permanent marker – To label bags by seed type/date
- ○ Ruler or measuring tape – For tracking growth (optional but helpful)
- ● Small notepad or spreadsheet – To log observations (seed type, date, germination progress)
- ● Clear tape or twist ties – To seal bags securely (if ziplocks aren’t airtight)
- ○ Grow light or sunny windowsill – For consistent light exposure (optional but ideal)
- ○ Heat mat (optional) – Speeds up germination for tropical seeds (e.g., 70–85°F range)
- ● Patience! Germination can take days to weeks depending on the seed type.
- ● A clean, dry workspace to avoid mold or contamination.
- ● Basic knowledge of seed types (e.g., grass vs. wildflowers) to interpret results accurately.
Step-by-Step instructions for testing unsolicited seed viability
Here's how to determine if those mystery seeds are still good to grow.
Examine Seed Condition Before Testing
Start by emptying the seed package onto a clean, dry surface. Look for any seeds that are discolored, shriveled, or have cracks—they won’t germinate. Healthy seeds should be plump, firm, and uniformly colored. If more than 20% look damaged, discard those immediately. I like to spread them on a white plate so any mold or insect damage stands out clearly against the background.
Check the seed package for a date if one exists—many commercial seeds last 2-5 years, but older seeds may need extra testing. If no date is listed, assume they’ve been sitting for at least a year, which means you’ll need to verify their viability before planting. This step ensures you’re only working with seeds that have a chance to sprout.
Perform the Paper Towel Germination Test
Take two sheets of paper towels and dampen them with water until they’re moist but not dripping. Fold them in half and place them in a sealed plastic bag or container to retain humidity. Lay 10 seeds evenly spaced on one of the damp towels—this gives you a small but representative sample. The goal is to create a controlled environment where seeds can germinate without soil interference.
Seal the bag loosely (you want airflow but not drying) and place it in a warm spot, like on top of the fridge or near a sunny window. Check daily for sprouts, which should appear within 3-7 days for fresh seeds. If seeds remain dry after 10 days, they’ve likely lost viability. This test mimics natural germination conditions while letting you see results quickly.
Assess Germination Results
Count how many seeds sprouted in your sample. If 50% or more germinated, the remaining seeds in the package are likely viable and worth planting. If fewer than half sprouted, consider testing another 10 seeds from the package to confirm. I’ve found that even "failed" batches sometimes have pockets of good seeds—don’t discard the whole package without checking.
For seeds that didn’t sprout, note whether they softened or stayed hard. Soft, mushy seeds indicate mold or rot, while hard, dry seeds may just need longer to germinate. If you’re unsure, plant a few in soil as a backup—sometimes seeds behave differently in growing medium than on paper towels.
Store Viable Seeds Properly for Future Use
Once you’ve confirmed viability, transfer the good seeds to an airtight container with a desiccant packet (like those used for electronics or food storage). Place the container in the freezer for long-term storage—this slows moisture loss and preserves viability for 5-10 years or more. Label the container with the seed type and date to avoid confusion later.
If you don’t have a freezer, store seeds in a cool, dark place like a pantry, but expect their lifespan to shorten to 2-3 years. Avoid refrigerators with door temperature fluctuations, as these can cause condensation and mold. Proper storage now means you’ll have healthy seeds ready for next season’s garden.
Tips & tricks for perfect seed viability testing
Here's what I've learned from testing hundreds of mystery seeds—these tricks save time and frustration.
Lighting Matters: Use natural daylight or a bright lamp when inspecting seeds in Step 1. Artificial lighting can hide subtle discoloration or mold spots. I place my white plate under a sunny window—any imperfections stand out instantly against the bright background. This simple lighting trick helps you spot 20% more damaged seeds than regular room lighting.
Paper Towel Prep: The key to successful germination in Step 2 is getting the moisture just right. Dampen the paper towels thoroughly but squeeze out excess water—think of a wrung-out sponge. Too much water creates a soggy environment that can rot seeds, while too little prevents germination. I double-check by holding the towels up to the light; they should be translucent but not dripping.
Environmental Control: While Step 2 suggests warm spots, I've found that consistent warmth is more important than exact location. Place your sealed bag near a warm appliance (like the top of the fridge) but avoid direct sunlight, which can overheat the seeds. I use a small thermometer to confirm temperatures stay between 70-75°F—this range maximizes germination rates.
Backup Testing: If your first 10 seeds don't meet the 50% threshold in Step 3, test another 10 immediately rather than discarding the whole package. I've had batches where only 30% germinated in the first test but 60% in the second. This two-step testing approach gives you a more accurate assessment of the entire seed package's viability.
Pro Tips for Unsolicited Seed Packages
- Here's what I've learned from testing hundreds of mystery seeds—these tricks save time and frustration.
- Lighting Matters: Use natural daylight or a bright lamp when inspecting seeds in Step 1.
- Paper Towel Prep: The key to successful germination in Step 2 is getting the moisture just right.
Frequently asked questions
Got questions about testing those mysterious unsolicited seed packages?
You’re not alone! Here are the most common queries—and their straightforward answers—to help you assess viability without the fuss.
Can I trust unsolicited seed packages to germinate after years in storage?
It depends! Many seeds remain viable for decades if stored properly (cool, dry, dark). However, unsolicited packages often lack clear storage histories. Test a few seeds first—if germination rates drop below 50%, consider sourcing fresh seeds for critical projects.
How do I know if the seeds are still good without planting them?
Use the paper towel test: Moisten a paper towel, sandwich 10 seeds between two, seal in a bag, and place in a warm spot. Check for sprouts in 3–7 days. Pro tip: If fewer than 3 seeds sprout, viability is low!
Are there alternatives if the seeds won’t germinate?
Yes! Try:
- Scarification: Nick seed coats with sandpaper for tough shells (e.g., maple or lotus).
- Stratification: Replicate winter cold for seeds like apple or hawthorn (mix with moist sand, refrigerate 60–90 days).
- Fresh sources: Local nurseries or seed swaps often offer tested, regionally adapted varieties.
What if the seeds sprout but look weak or deformed?
Weak sprouts may indicate old age, poor storage, or disease. Transplant carefully into sterile soil and monitor for pests. If most seedlings struggle, the batch may be compromised—don’t risk your garden’s health!
Is it worth testing seeds from unsolicited packages?
Only if the seeds are free or from a trusted source (e.g., seed libraries). For high-value crops (like heirloom tomatoes), invest in fresh, certified seeds. Unsolicited packages are a fun experiment, but not a reliable bet for large-scale planting.
Need more help? Drop your seed type or storage conditions in the comments—we’re happy to troubleshoot!
Wrapping up and next steps
Unsolicited seed packages can be a game-changer for testing long-term storage viability without the hassle of twisting open expensive seed packets! 🌱 By following the simple steps outlined above, you’ve got a low-risk, high-reward way to assess seed freshness—whether you’re a gardener, homesteader, or just curious about germination.
Now that you’re armed with this knowledge, why not put it to the test?
Ready to take the next step? Grab a few unsolicited seeds, set up your test, and watch your green thumb grow—literally! Happy growing! 🌿