
Size
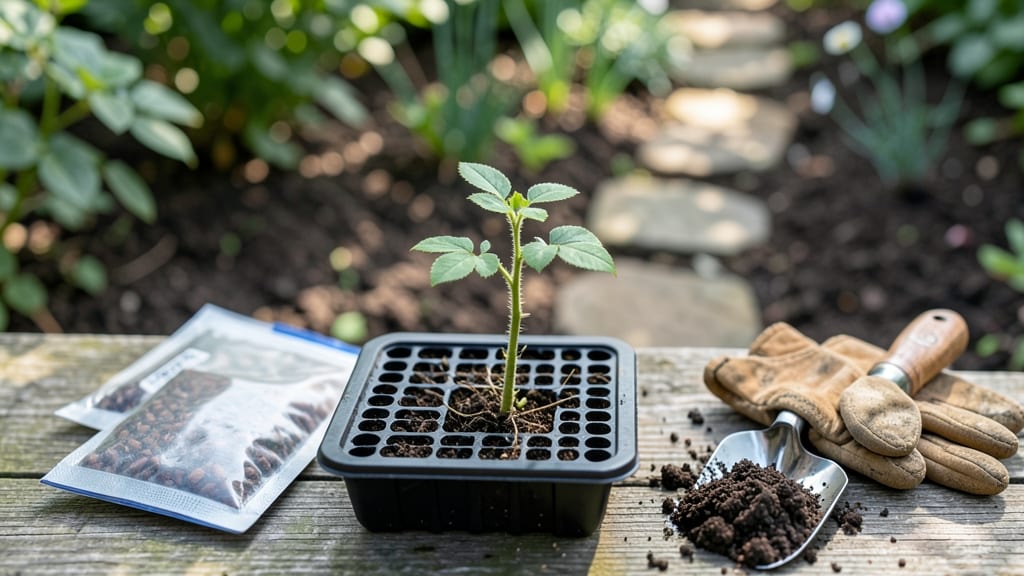
Growing roses from seed means your garden could bloom with heirlooms you’ll never find at the nursery—if you crack the cold-stratification code. ✨ I’ve struggled with stubborn rose seeds that refused to sprout until I learned this 7-day trick that mimics winter’s natural dormancy period.
Most gardeners give up after two weeks, but with the right moisture, temperature, and timing, you’ll see those first green shoots breaking through in just days.
The secret starts with moistened paper towels and a sealed plastic bag—no fancy equipment needed. You’ll need a warm spot for pre-sprouting, then a refrigerator to simulate winter’s chill. This two-step process tricks seeds into thinking they’ve survived a cold season, so they’ll germinate faster when you plant them.
Think of it as giving your seeds a head start on spring.
By day 7, you’ll have tiny sprouts ready to plant in light, well-draining soil under grow lights or a sunny windowsill. The first leaves will be delicate, but with consistent moisture and patience, you’ll watch them grow into strong seedlings.
The payoff? Homegrown roses that thrive for decades—far more rewarding than store-bought cuttings.
This method works for hybrid teas, climbers, and even rare heirlooms. Just be ready for slow growth—roses from seed take years to bloom, but the wait is worth it. Here’s how to get started without the guesswork.
📚 In This Guide
- What you need
- Instructions
- Tips and common mistakes
- Wrapping up and next steps
What you need
- ● Rose seeds – Freshly extracted from hybridized roses (or purchased from a reputable supplier). Aim for 5-10 seeds per batch for better success rates.
- ● Well-draining potting mix – A blend of 50% peat moss or coco coir and 50% perlite or vermiculite (sterilized). Avoid garden soil—it can harbor pathogens.
- ● Small seed-starting trays or pots – 2-3 inch diameter (biodegradable pots work great!). You’ll need 1 pot per seed or a tray with individual cells.
- ● Plastic wrap or a humidity dome – To maintain moisture during stratification.
- ● Spray bottle with water – For gentle hydration (avoid overwatering!).
- ● Refrigerator or cold frame – Must maintain 35–45°F (2–7°C) for stratification.
- ● Grow lights or sunny windowsill – A south-facing window or LED grow lights (12+ hours/day) once sprouts emerge.
- ○ Small fan (optional but helpful) – To prevent damping-off by improving air circulation.
- ● Seed scarification tools – Sandpaper (fine-grit) or a knife to nick seeds if they have hard coats.
- ● Fungicide (like hydrogen peroxide 3%) – Diluted to 1:9 ratio for sterilizing trays or water.
- ○ Heat mat (optional) – To speed up germination post-stratification (70–75°F / 21–24°C).
- ● Plant labels & markers – To track seed varieties if experimenting with multiple types.
- ● Compost or worm castings – For richer soil once seedlings are transplanted.
Step-by-step instructions for cold-stratifying rose seeds
Here's how to break dormancy and encourage germination using nature's timing tricks.
🌱 Step 1: Collect and Prepare Fresh Rose Seeds
Harvest rose seeds from fully ripened hips in late fall or early winter when they've turned deep red or black. Split open the hips and extract the seeds—each hip contains multiple seeds, so you'll get plenty for your 4 plants. Remove any seeds that show signs of mold or damage, as these won't germinate. Rinse the remaining seeds gently with lukewarm water to remove any residual fruit pulp, then let them air-dry on a paper towel for 24 hours.
This drying step is critical—wet seeds will rot during stratification. Place the seeds in a single layer on the towel and let them sit in a well-ventilated area away from direct sunlight. You'll know they're ready when they feel dry to the touch but don't crumble when handled. Here's the thing—rose seeds are notoriously slow to germinate, so freshness matters. Use seeds from the current year's hips for best results.
❄️ Step 2: Stratify Seeds in Moistened Peat Moss
Fill a quart-sized container with moistened peat moss (keep it damp but not soggy—squeeze a handful to test; water should drip out but not pool). Mix the peat moss gently to create small air pockets where seeds can settle. Place your dried rose seeds ½ inch deep into the moss, spacing them about 1 inch apart to prevent crowding. Cover the container with a clear plastic lid or wrap it in plastic wrap, leaving a small gap for airflow.
Store the container in your refrigerator's crisp drawer (the section designed for vegetables) where temperatures hover around 35-40°F. This mimics winter conditions and breaks the seed's dormancy. Check the moss every 7-10 days—if it feels dry, mist lightly with water. You'll see no immediate changes, but this cold stratification period is what triggers germination. Real talk: some seeds may take 4-6 weeks to show signs of life, so patience is key.
☀️ Step 3: Transition Seeds to Warmth for Germination
After 6-8 weeks of cold stratification, remove the container from the refrigerator and place it in a warm, bright location—think 70-75°F with indirect sunlight. The shift in temperature signals the seeds to begin growing. Keep the peat moss consistently moist (not wet) during this phase. You'll notice the first signs of germination in 7-14 days as tiny green shoots push through the moss. Don't be alarmed if some seeds sprout faster than others—this is normal.
Once seedlings reach 1-2 inches tall, carefully transfer them to individual 2-inch pots filled with a sterile seed-starting mix. Gently tease apart the peat moss to separate the seedlings without damaging their delicate roots. Here's where it gets fun—watch the cotyledons (the first true leaves) unfurl within a week of transplanting. This is your reward for the waiting game. If you notice any yellowing leaves, reduce watering slightly—overwatering is the fastest way to lose young rose seedlings.
🌿 Step 4: Acclimate Seedlings to Growing Conditions
After the seedlings establish in their pots (about 4-6 weeks), introduce them to outdoor conditions gradually. Start by placing them in a shaded, sheltered spot for 1-2 hours the first day, then increase their outdoor time by 1 hour daily. This process, called hardening off, prepares them for life in the garden. By day 10, they should be able to handle a full day outside, though you may want to bring them in at night if temperatures drop below 50°F.
During this phase, focus on keeping the soil evenly moist but not soggy. You'll see stronger stems and deeper green leaves as the seedlings adapt. Once they've survived 14 days outdoors without stress, they're ready to plant in the garden. Choose a location with full sun (at least 6 hours daily) and well-draining soil. Here's the moment that matters: plant them at the same depth they were growing in pots, and water deeply right after transplanting to help them settle into their new home.
Tips & tricks for perfect cold-stratified rose seedlings
Here's what I've learned from years of growing roses from seed—these tricks will help you avoid common pitfalls and get the best germination rates.
Selection Tip: Choose hips from healthy, disease-free roses for your seeds. The best hips are the ones that stay on the bush until they're completely ripe and have turned deep red or black. Avoid hips that fall prematurely—they often contain underdeveloped seeds. If you're working with store-bought seeds, look for those labeled as "organic" or "heirloom," as they're more likely to be fresh and viable. Freshness is everything with rose seeds, and you'll notice higher germination rates when you start with the best possible seeds.
Temperature Matters: The 35-40°F range in your refrigerator's crisp drawer is crucial for breaking dormancy. If your fridge runs cooler, consider using a seedling heat mat set to 40°F underneath the container. For warmer fridges, you might need to extend the stratification period by 1-2 weeks. The key is consistency—fluctuating temperatures can confuse the seeds and prevent germination. I've found that placing a thermometer inside the container gives me peace of mind and ensures the right conditions.
Make-Ahead Strategy: You can actually start the stratification process up to 3 months in advance if you plan ahead. Simply follow the same steps but keep the container in the fridge until you're ready to transition to warmth. This is especially useful if you're collecting seeds in late fall but don't want to start the process right away. Just remember to check the peat moss every 7-10 days during this extended period to maintain proper moisture levels. The longer you stratify, the better the germination rates tend to be, up to a point.
Transplanting Technique: When it's time to move your 1-2 inch seedlings to individual pots, use a small spoon or butter knife to gently loosen the peat moss around each seedling's roots. This makes it easier to separate them without damaging the delicate root systems. I've learned that patience pays off here—take your time and don't rush the process. Once in their new pots, water them gently from the bottom by placing the pots in a shallow tray of water for about 10 minutes. This encourages the roots to grow downward rather than staying compacted.
Pro Tips for Rose Seed Grow A Garden
- Here's what I've learned from years of growing roses from seed—these tricks will help you avoid common pitfalls and g...
- Selection Tip: Choose hips from healthy, disease-free roses for your seeds. The best hips are the ones that stay on t...
- Temperature Matters: The 35-40°F range in your refrigerator's crisp drawer is crucial for breaking dormancy. If your ...
Frequently asked questions
Got questions about growing roses from seed?
You’re not alone! Here are some of the most common queries—plus quick, actionable answers to get your garden blooming.
How do I know if my rose seeds are viable before planting?
Not all rose seeds sprout easily, but you can test viability with a simple water float test. Place seeds in a bowl of water—if they sink, they’re likely viable and ready for cold stratification. Floaters? Toss them! Pro tip: Hybrid tea and floribunda seeds often germinate slower than wild rose varieties, so be patient!
Why won’t my rose seeds sprout after cold stratification?
Even with cold stratification, seeds may need extra coaxing. Check these fixes:
- Temperature: Keep soil between 65–75°F (18–24°C)—too cold or hot stalls growth.
- Moisture: Keep soil consistently damp (not soggy) with a spray bottle.
- Light: Seeds need bright, indirect light (a sunny windowsill or grow light works).
- Patience: Some roses take 4–8 weeks to sprout!
If nothing happens after 2 months, the seeds may be past their prime.
Can I grow roses from seed in containers instead of a garden bed?
Containers are perfect for seed-starting roses. Use:
- 4–6 inch pots with drainage holes.
- Well-draining potting mix (add perlite for aeration).
- Place containers in a cool (35–40°F/2–4°C) spot for stratification.
Once sprouts appear, move pots to a sunny window or under grow lights. Transplant outdoors after the last frost when seedlings are 3–4 inches tall.
Do I need to cold-stratify rose seeds if I live in a warm climate?
Yes! Cold stratification mimics winter, breaking seed dormancy—critical for germination. In warm climates, DIY a refrigerator stratification setup:
- Mix seeds with damp sand or peat moss in a sealed bag.
- Store in the crispest part of your fridge (35–40°F/2–4°C) for 4–6 weeks.
- Check moisture weekly—seeds should feel damp but not wet.
Skip this step, and your seeds may never sprout.
Will roses grown from seed look like the parent plant?
Probably not! Seed-grown roses are unpredictable—they may inherit traits from the parent but often surprise you with different colors, shapes, or hardiness. For true-to-type roses, grafted plants are the way to go. But the fun? Unexpected blooms! Fun fact: Some seed-grown roses develop disease resistance not found in hybrid varieties.
Wrapping up and next steps
Growing roses from seeds is a rewarding journey that blends patience with the magic of nature—and you’ve just unlocked the secret to speeding up germination with cold stratification! Whether you’re a seasoned gardener or a curious beginner, these sprouts in just 7 days prove that even the tiniest seeds can bloom into something extraordinary. 🌱✨
Now that you’re armed with the right techniques, it’s time to roll up your sleeves and get planting! Start with a single seedling, experiment with varieties, and watch your garden transform. Next step? Share your progress with fellow gardeners or dive deeper into nurturing those delicate sprouts into thriving roses.
The garden of your dreams starts with one seed—and yours is already sprouting! 🌸