
Lawn
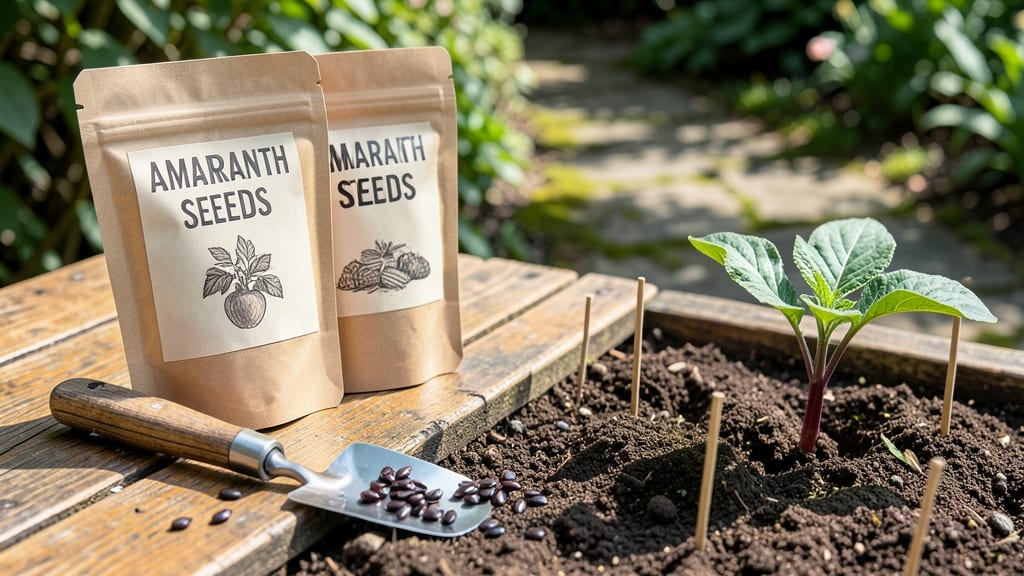
Planting amaranth seeds unlocks 60 days of vibrant greens and edible harvests that outshine most garden staples. 🌱 I’ve grown both ornamental and edible varieties, and the key to success starts with the right soil prep—loose, well-draining, and rich in organic matter.
Skip this step, and your seeds might struggle to break through compacted earth. Amaranth thrives in warm weather, so wait until soil temperatures hit at least 70°F before sowing. Direct-sow seeds ½ inch deep, spacing them 12–18 inches apart for full-grown plants with room to spread.
Thin seedlings later if needed—crowding leads to leggy, weak stems that flop over in wind or rain. Within 7–14 days, you’ll see those first bright green shoots pushing through the soil.
Keep the area consistently moist (not soggy) until germination, then water at the base to avoid wetting leaves, which can invite fungal issues. Once established, amaranth is drought-tolerant, but regular watering keeps leaves tender and nutrient-dense. The best part?
These plants double as living art—deep red, gold, or purple varieties add drama to borders while their leaves and seeds pack protein and minerals. Start early, and you’ll harvest both greens and seeds by late summer, with enough left over to share or preserve.
📚 In This Guide
- What you need
- Instructions
- Tips and common mistakes
- Wrapping up and next steps
What you need
- ● Amaranth seeds: 2–3 lbs (enough for a 10’x10’ plot or 10–15 plants in containers). Choose heirloom or organic varieties like ‘Red Garnet’ or ‘Green Giant’.
- ● Well-draining soil: Mix 1 part compost with 2 parts garden soil (pH 6.0–7.5). For containers, use lightweight potting mix.
- ● Sunlight access: A full-sun spot (6+ hours daily)—amaranth thrives in warmth!
- ● Watering can or hose: With a fine-mist nozzle for gentle watering.
- ○ Planting containers (optional): 12–18” deep pots with drainage holes (1–2 plants per container).
- ○ Fertilizer (optional): Balanced organic fertilizer (10-10-10) or compost tea for a nutrient boost.
- ○ Mulch (optional): Straw or shredded leaves to retain moisture and suppress weeds.
- ○ Garden stakes or trellis (optional): For tall varieties like ‘Love Lies Bleeding’ (6–8 ft).
Step-by-Step guide to planting amaranth seeds
Here's how to grow vibrant, nutrient-rich amaranth from seed—ready to harvest in just 60 days.
🌱 Step 1: Prepare Soil and Planting Site
Amaranth thrives in warm, well-drained soil with a pH between 6.5 and 7.5. Work in 2-3 inches of compost or aged manure into the top 6 inches of soil to boost fertility—amaranth is a heavy feeder and rewards rich soil with rapid growth. Clear the area of weeds first, as they’ll compete aggressively with your seedlings.
Choose a location with full sun (6+ hours daily)—amaranth won’t tolerate shade. If your climate has cool springs, wait until soil temperatures reach at least 60°F before planting. A soil thermometer is your best tool here; amaranth seeds won’t germinate reliably in cooler soil.
🌱 Step 2: Sow Seeds at the Right Depth and Spacing
Plant seeds ½ inch deep and 12 inches apart in rows spaced 18 inches apart. Amaranth seeds are small but pack a punch—don’t bury them too deep, or they’ll struggle to emerge. I like to use a seed starter tool to make precise holes, then drop 2-3 seeds per spot (thin later to the strongest seedling).
Water gently after planting to settle the soil around seeds, but avoid soaking the area—amaranth seeds need moisture to germinate, but soggy soil invites rot. Keep the soil evenly moist (not soggy) until germination, which typically takes 7-14 days depending on temperature. You’ll see tiny green shoots first, followed by the first true leaves in about a week.
☀️ Step 3: Thin Seedlings and Provide Consistent Care
Once seedlings reach 2 inches tall, thin to 1 plant every 12 inches to give them room to grow. Use scissors to snip weak seedlings at soil level—pulling risks disturbing roots of remaining plants. Amaranth grows fast, so don’t delay thinning; crowded plants produce less yield and are more prone to disease.
Water deeply 1-2 times per week, aiming for 1 inch of water per week. Amaranth is drought-tolerant once established, but young plants need steady moisture. Water at the base of plants in the morning to prevent fungal issues. You’ll know your watering is right when the soil feels damp 2 inches down but not waterlogged.
✂️ Step 4: Fertilize and Monitor for Pests
Feed plants with a balanced fertilizer (10-10-10) when they’re 4-6 inches tall, then again 4 weeks later. Amaranth loves nitrogen but won’t tolerate excess—stick to the recommended dose. I also side-dress with compost tea every 2 weeks for a natural nutrient boost and to prevent nutrient deficiencies like yellowing leaves.
Watch for aphids or spider mites, which love amaranth’s tender leaves. Blast off pests with a strong spray of water early in the day, or introduce ladybugs for natural control. If leaves develop brown spots, it’s often fungal—improve airflow by spacing plants further apart and avoid overhead watering.
🌿 Step 5: Harvest for Peak Flavor and Nutrition
Start harvesting leafy greens when plants are 8-10 inches tall, cutting outer leaves first to encourage bushier growth. For grain amaranth, let plants mature until seed heads form—60-70 days after planting. Harvest seeds when the heads turn tan and dry, then rub them free in a paper bag. Store seeds in a cool, dry place for up to a year.
If you’re growing for greens, harvest every 2-3 weeks to keep production steady. Amaranth is a cut-and-come-again crop—regular harvesting prevents bolting (flowering too early) and ensures tender, flavorful leaves. The younger the leaves, the milder the taste, so don’t wait too long!
Tips & tricks for growing amaranth from seed
Here’s what I’ve learned after growing amaranth for years—these tricks make all the difference between a decent harvest and a thriving garden.
Soil Temperature is Non-Negotiable: That 60°F minimum soil temperature in Step 1 isn’t just a suggestion—it’s the magic threshold where amaranth seeds wake up. I’ve planted in cooler soil and waited weeks for germination, or worse, given up entirely. Use a soil thermometer for 3-5 days before planting to confirm you’re ready. Pro tip: Black plastic mulch can warm soil by 5-10°F if your spring is cool, giving seeds a head start.
The Right Tools Save Time: That ½ inch seed depth in Step 2 is tricky to eyeball—amaranth seeds are tiny but need perfect placement. I use a seed starter tool (or a wooden dowel) to make precise holes. For spacing, lay out a 12-inch grid with stakes before planting to avoid crowding. Trust me, measuring after planting leads to frustration when you realize you’ve got seedlings too close together.
Germination Patience Pays Off: The 7-14 day germination window can feel like an eternity, especially when you’re eager to see growth. Keep soil evenly moist but not soggy—I use a spray bottle to mist seeds daily until they sprout. The first true leaves (not the initial cotyledons) appear around 10-14 days, signaling it’s time to thin. Mark your calendar when you plant to track progress!
Harvesting Strategy for Continuous Greens: Amaranth’s 8-10 inch harvest height is just the starting point. For leafy greens, I harvest every 2-3 weeks by cutting outer leaves first—this encourages bushier regrowth. For seed production, let plants mature to 60-70 days, but watch for seed heads to turn tan. A gentle shake over a paper bag reveals whether they’re ready to harvest. Store seeds in a cool, dark place for up to a year.
Pro Tips for Amaranth Seed Planting
- Here’s what I’ve learned after growing amaranth for years—these tricks make all the difference between a decent harvest and a thriving garden.
- Soil Temperature is Non-Negotiable: That 60°F minimum soil temperature in Step 1 isn’t just a suggestion—it’s the magic threshold where amaranth seeds wake up.
- The Right Tools Save Time: That ½ inch seed depth in Step 2 is tricky to eyeball—amaranth seeds are tiny but need perfect placement.
Frequently asked questions
Got questions about growing amaranth from seed? You’re not alone! Here are answers to the most common queries to help you plant with confidence.
When is the best time to plant amaranth seeds?
Amaranth thrives in warm soil—plant after the last frost when temperatures stay above 55°F (13°C). For most U.S. regions, this means late spring to early summer. In hot climates, you can even plant in early fall for a second harvest. Start indoors 2–3 weeks early if your growing season is short.
How long does it take for amaranth to grow from seed to harvest?
Most varieties mature in 60–75 days, but some leafy types (like Amaranthus tricolor) can be harvested as young greens in just 4–6 weeks. Grain amaranth (for seeds) takes the full 75–90 days. Check seed packets for your specific variety’s timeline!
How much water does amaranth need, and how often should I water it?
Amaranth is drought-tolerant but grows best with 1–1.5 inches of water per week. Water deeply 2–3 times per week during dry spells, focusing on the soil (not leaves) to prevent mildew. Reduce watering slightly as plants mature, but avoid letting soil dry out completely.
What pests or diseases should I watch for when growing amaranth?
Common pests include aphids, spider mites, and flea beetles. Use neem oil or insecticidal soap for mild infestations. Diseases like powdery mildew can occur in humid conditions—improve airflow and avoid overhead watering. Rotate crops yearly to prevent soil-borne issues.
Can I grow amaranth in containers, and what size pot do I need?
Yes! Amaranth adapts well to containers. For leaf varieties, use pots at least 12 inches deep and wide. For grain types, go for 18+ inches deep to support taller stalks. Ensure pots have drainage holes and use a lightweight, well-draining potting mix.
Wrapping up and next steps
Amaranth seeds are a game-changer for gardeners seeking a fast, nutrient-rich harvest with minimal fuss! 🌱 With just 60 days to a bountiful crop, you can enjoy vibrant greens, edible seeds, and even colorful flowers—all while boosting your garden’s sustainability.
Whether you’re a beginner or a seasoned grower, the key is patience, proper spacing, and a little TLC.
Ready to grow your own superfood? Start by planting your first batch this season—then experiment with varieties, soil mixes, or even companion planting to take your harvest to the next level. Happy gardening! 🌿